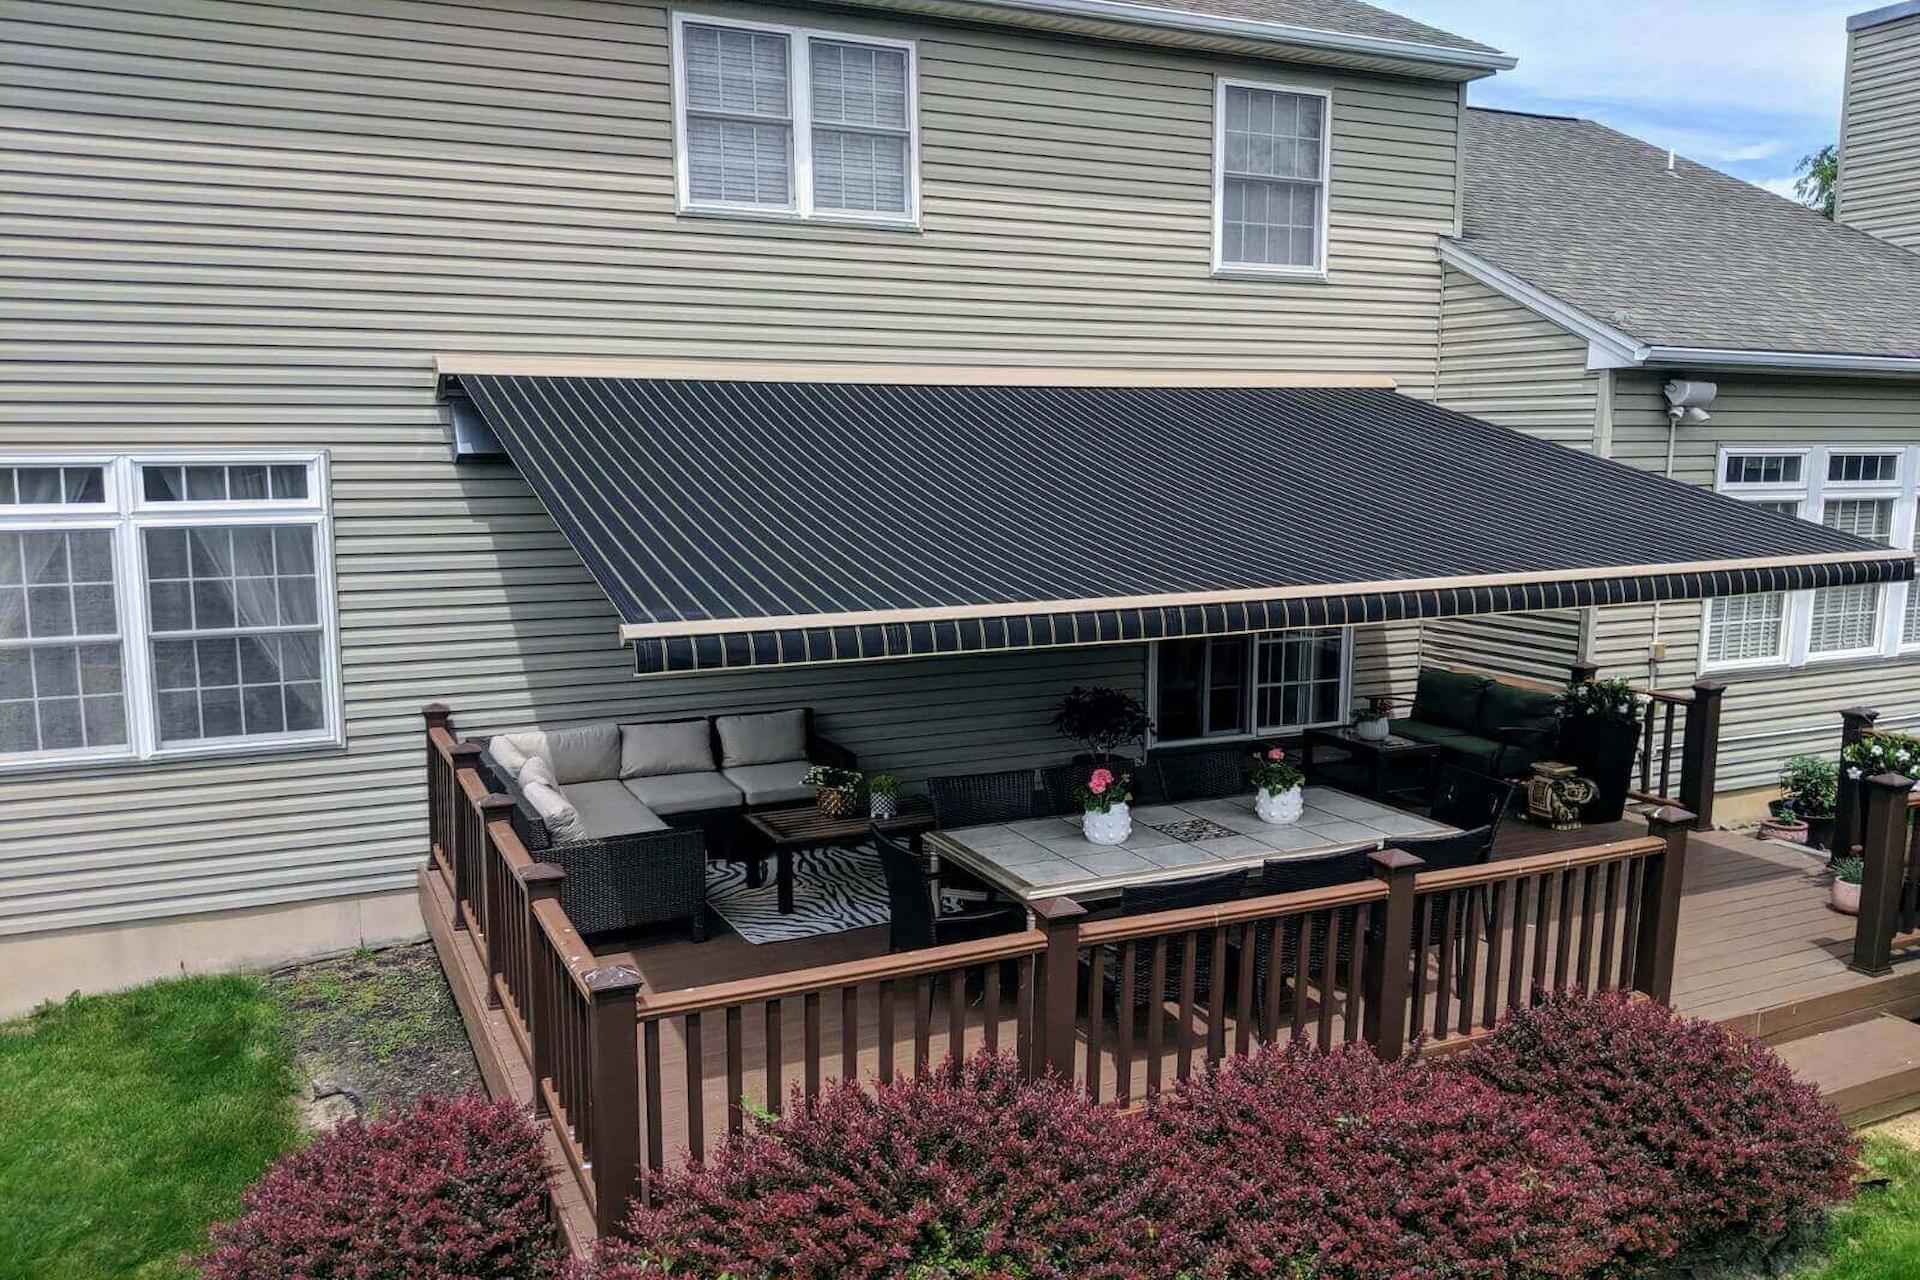
Shades are an excellent way to increase the curb appeal of your house’s exterior. In addition to giving shade and protection from the weather, they are a perfect way to add value to your property. It’s possible to save money and add personal flair to outdoor living areas by installing house awnings as a do-it-yourself project.
Planning
Before starting the installation process, planning and preparing adequately is crucial:
- Assess the area where you want to put up the curtains.
- Consider factors such as the size, style, and material of the tops that best suit your home’s architecture and specific requirements.
- Check local building codes and regulations to ensure compliance.
Gathering Materials And Tools
To install house awnings, you will need these materials and tools:
House awning kit, Measuring tape, Level, Screwdriver, Drill, Pencil,Ladder, Safety equipment.
Marking And Preparing The Mounting Locations
Using a measuring tape, mark the locations where the awning will be mounted on the exterior wall. Ensure that the marks are level and at the desired height. Double-check for any obstacles, such as windows or doors, that could interfere with the installation.
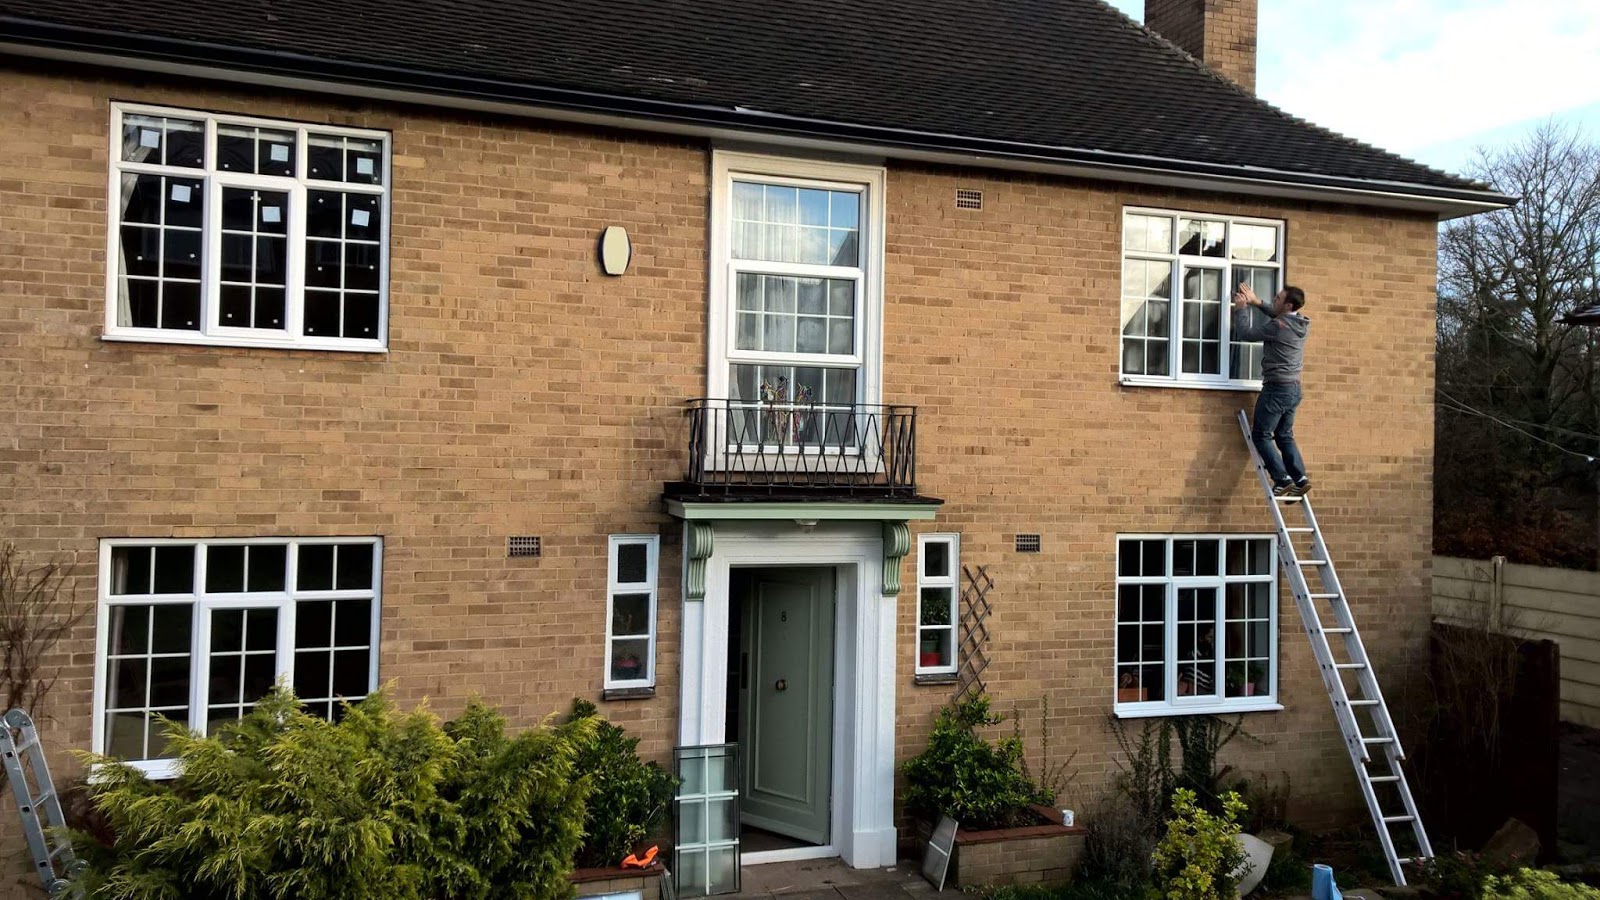
Installing The Awning Brackets
Attach the house Awnings brackets to the marked locations on the wall Predrill holes to prevent the wall from splitting. Secure the brackets using screws and a screwdriver, ensuring they are firmly in place. Use a level to confirm that the brackets are straight and aligned.
Mounting The Awning Frame
With the brackets securely installed, carefully mount the awning frame onto them. Follow the manufacturer’s instructions provided with the kit to ensure correct installation. It is best to enlist the aid of an acquaintance or family member to hold the edge steady while you secure it.
Attaching The Awning Fabric
Unroll the awning fabric and align it with the frame. Make sure the material is centred and stretched evenly across the frame. Attach the fabric to the frame using the hardware provided, following the manufacturer’s guidelines. Take care to tighten the material sufficiently to avoid sagging but avoid overstretching.
Verifying Stability And Functionality
Once the cloth is fastened, test the stability of the awning by gently pulling it in various directions. Ensure that it is firmly fastened and is not moving. Next, extend and retract the top as instructed by the manufacturer to ensure that it functions properly.
Finishing Touches And Maintenance
To finish, inspect the awning for any loose screws or hardware and tighten them as needed. Then, as the manufacturer directs, clean the awning fabric with mild soap and water to maintain its appearance and longevity. Additionally, consider applying a protective coating to the frame to prevent rust or deterioration.
Conclusion
A satisfying DIY project that enhances the beauty and functionality of your home is installing house awnings. You may confidently complete the installation process by following this manual and taking advantage of your freshly installed house awnings. Remember to prioritize safety throughout the project and consult professional assistance if needed.